The past few months have been incredibly busy for our family! From weddings to holidays to birthdays to baby showers, I think we have covered every possible occasion! Probably the most special to me, was my youngest sister's baby shower. This is her first baby and we are so excited for our boys to have a new cousin. When my middle sister and I decided to host the shower we wanted to make sure everyone had plenty of notice, so we sent out save the dates. We didn't have anything planned except for a date and a theme!
I'm not really sure where the idea of the owl theme came from, but it is reflected in a lot of different aspects. For the invitation, we used different papers to create a patchwork owl.
The mommy-to-be is very unique and artistic, so instead of having a guest book for everyone to sign, we thought it would be a nice touch for everyone to write a personal message and hang it from a "wishing tree". The branch was actually used for a family friend's baby shower. They had taken the branch from a tree in their yard and spray painted it white. It was perfect for our wishing tree.
I used the same papers we had used in the patchwork owl for the wishing cards. Here's a close up of the cards.
We also used the owl theme in our favors. We put individual servings of hot cocoa and marshmallows in baby food jars (of course). I created little "labels" for the jar using the same coordinating papers that we used to make the owls for the invitations and for the wishing tree cards.
 |
| I attached these "labels" to the baby food jars by turning them into stickers. I used my Xyron machine to add the adhesive backing. I put the squares through the Xyron before I attached the stamped circles. After I ran them through the Xyron, I used three dimensional foam squares to attached the circles. I also colored the word "Girl" and the heart in using a Prisma Color pencil. |
|
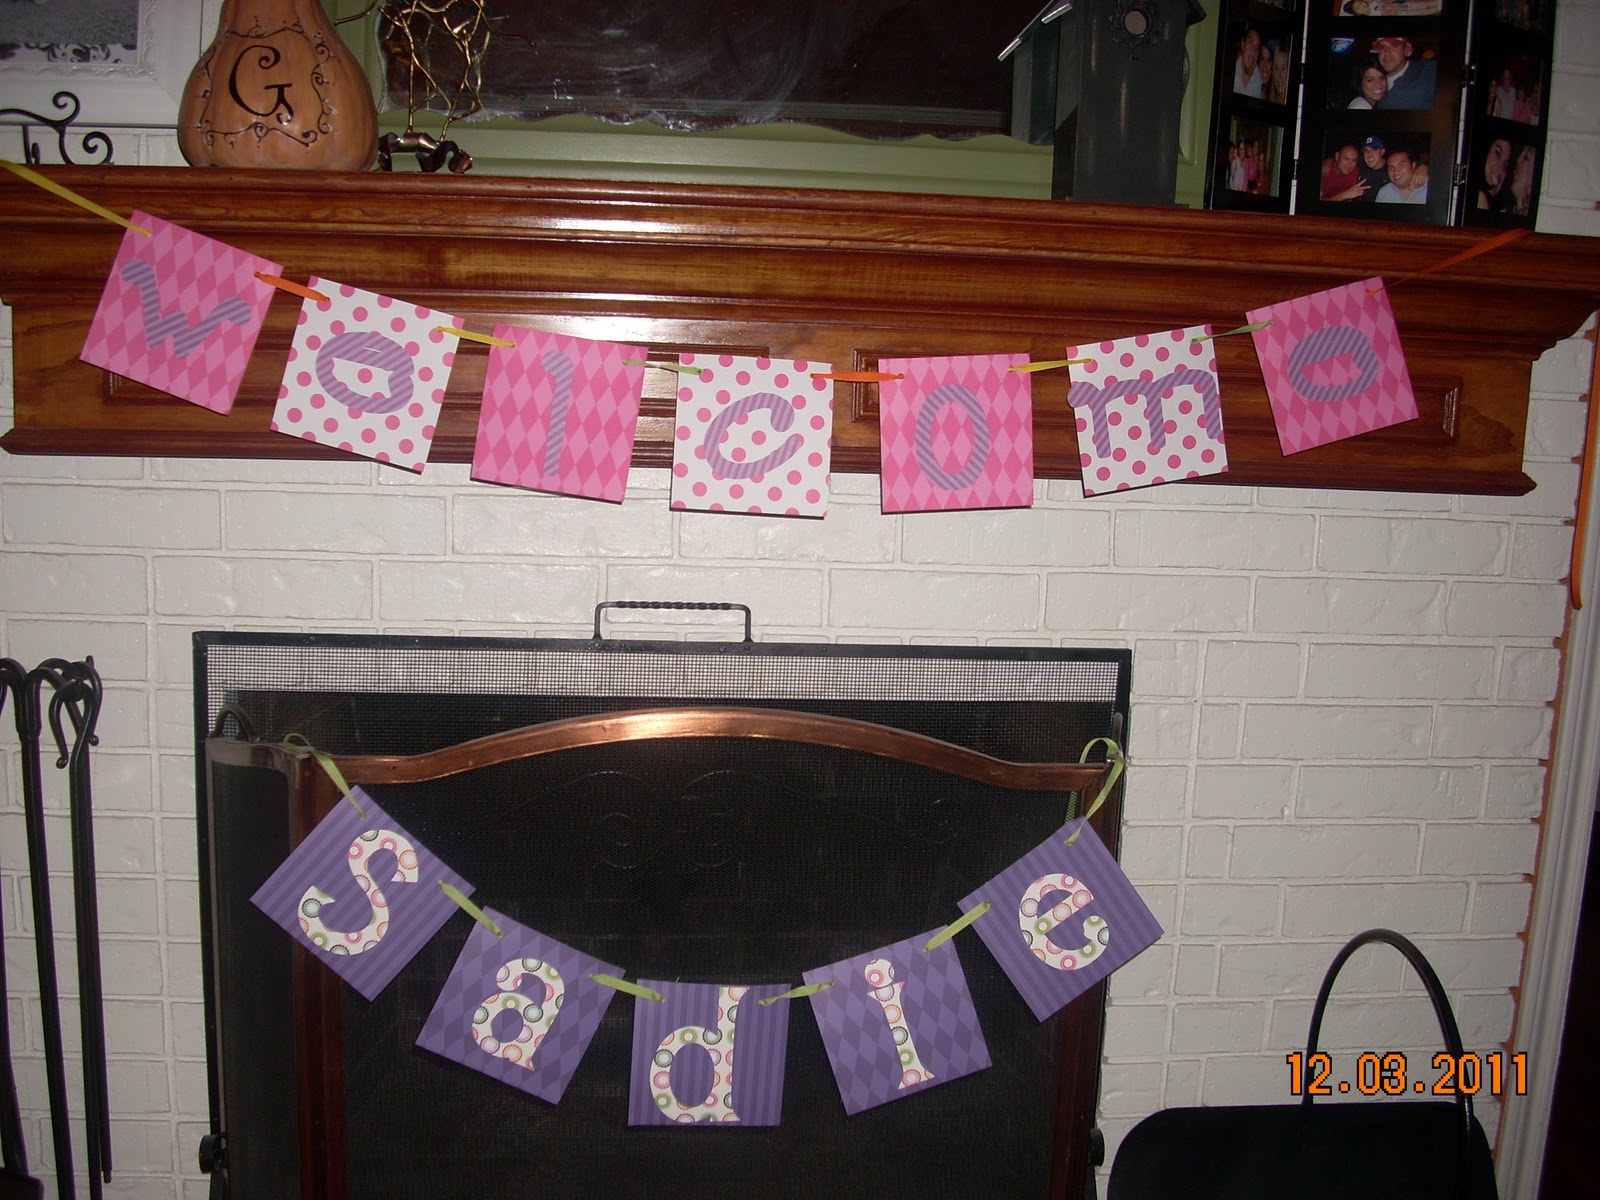
I hardly ever use my Cricut, but I did use it to cut out the letters for the banner on the fireplace.
 |
| I used two different font cartridges for each word. |
Here are some more pictures from the shower.
We created a hot cocoa bar with four different types of marshmallows. I think I went a little crazy with the marshmallows, but I never knew you could buy peppermint, mint chocolate chip, and pumpkin spice marshmallows! We placed the marshmallows in stemless wine glasses and adhered leftover "labels" from the favors to the front of the glasses. The spoons were dipped in white chocolate. Yummy!
 |
| The kitchen table was a snack "station". Here we had owl cookies and water with strawberries. The china we used was white and gold so we placed a gold charger underneath the water container to collect any water dribbles. We kept the decorating pretty simple. I hung a banner made with scraps of paper that I cut in to squares and attached using different colored ribbon. We displayed a photograph of the mommy and daddy-to-be when they were babies and a vase of flowers. I wrapped a white and gold ribbon around the vase to dress it up a little bit. |
 |
| Here's a close up of the owl cookies. I got the idea for these cookies when I was looking at Wilton's website for dinosaur cake pans for a different event. Their owl cookies were decorated for Halloween. I used two oval shaped fondant cutters to create the head and body and icing that I tinted in different shades of violet. I had some difficulty with thinning my icing, so these cookies were more difficult than they should have been. They were so yummy! I think the key is almond extract. |
My sister definitely had a vision in mind when she decorated her daughter's nursery. She had what we called her "inspiration nursery".
She asked me to paint some artwork inspired by paintings she saw at PierOne.
Can't wait to meet her!